
English 


Views: 0 Author: Site Editor Publish Time: 2026-07-10 Origin: Site


A Bay Window is a premium architectural feature that adds square footage and natural light, yet it frequently devolves into underutilized dead space due to awkward angles and layout challenges. Homeowners and designers struggle to bridge the gap between aesthetic inspiration and functional reality. Selecting the wrong decor or furniture for this space can disrupt room flow, block natural light, or result in poorly fitted custom installations. Moving beyond superficial styling, this guide evaluates 14 distinct ideas for decorating a Bay Window. Each approach is broken down by functional outcome, implementation requirements, and spatial trade-offs to help you finalize your interior design strategy. We will cover structural modifications, freestanding furniture layouts, and technical window treatments to ensure your space works hard for your daily routine.
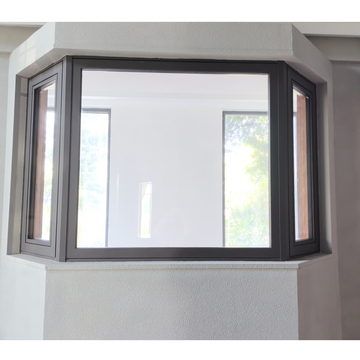
Function Dictates Form: The most successful bay window designs align with the room's primary utility—whether that is maximizing seating (banquettes), optimizing light (layered treatments), or creating dedicated task zones (desks).
Structural vs. Freestanding: Custom built-ins offer the highest ROI for space optimization but require higher upfront investment and precise carpentry to navigate non-standard angles.
Technical Considerations: Effective bay window decor must account for thermal efficiency, UV degradation of textiles, and specialized hardware mounting for window treatments.
Measurement is Critical: Standard furniture rarely fits the trapezoidal or polygonal footprint of a bay window; precise angle mapping is required before purchasing or commissioning pieces.
Table of Contents
Before selecting a design direction, define exactly what the room lacks. A successful installation solves a specific spatial or environmental problem. Determine if your primary living area requires additional concealed storage, overflow seating for guests, enhanced privacy from street-level view, or better thermal insulation against winter drafts. Identifying this core requirement prevents you from installing a purely decorative setup that ultimately goes unused. You need to look at the room's traffic patterns and figure out how the alcove can support the main living area rather than fighting against it.
Every design concept must be measured against four critical dimensions to ensure long-term viability and daily function.
Spatial Footprint: Evaluate whether the proposed idea encroaches on the primary room's traffic paths. The best designs stay contained within the alcove itself, preserving the main floor area.
Light Management: Consider how the design impacts solar heat gain. Heavy furniture or dense textiles can block natural illumination, requiring supplemental artificial lighting.
Privacy vs. Light Transmission: You must find a balance between shielding the interior from outside view and maintaining a bright space. Completely blocking the glass defeats the purpose of the architectural feature.
Budget and Scalability: Differentiate between weekend styling projects and contractor-led custom builds. Built-in solutions require skilled trades, while freestanding furniture allows for immediate, flexible implementation.
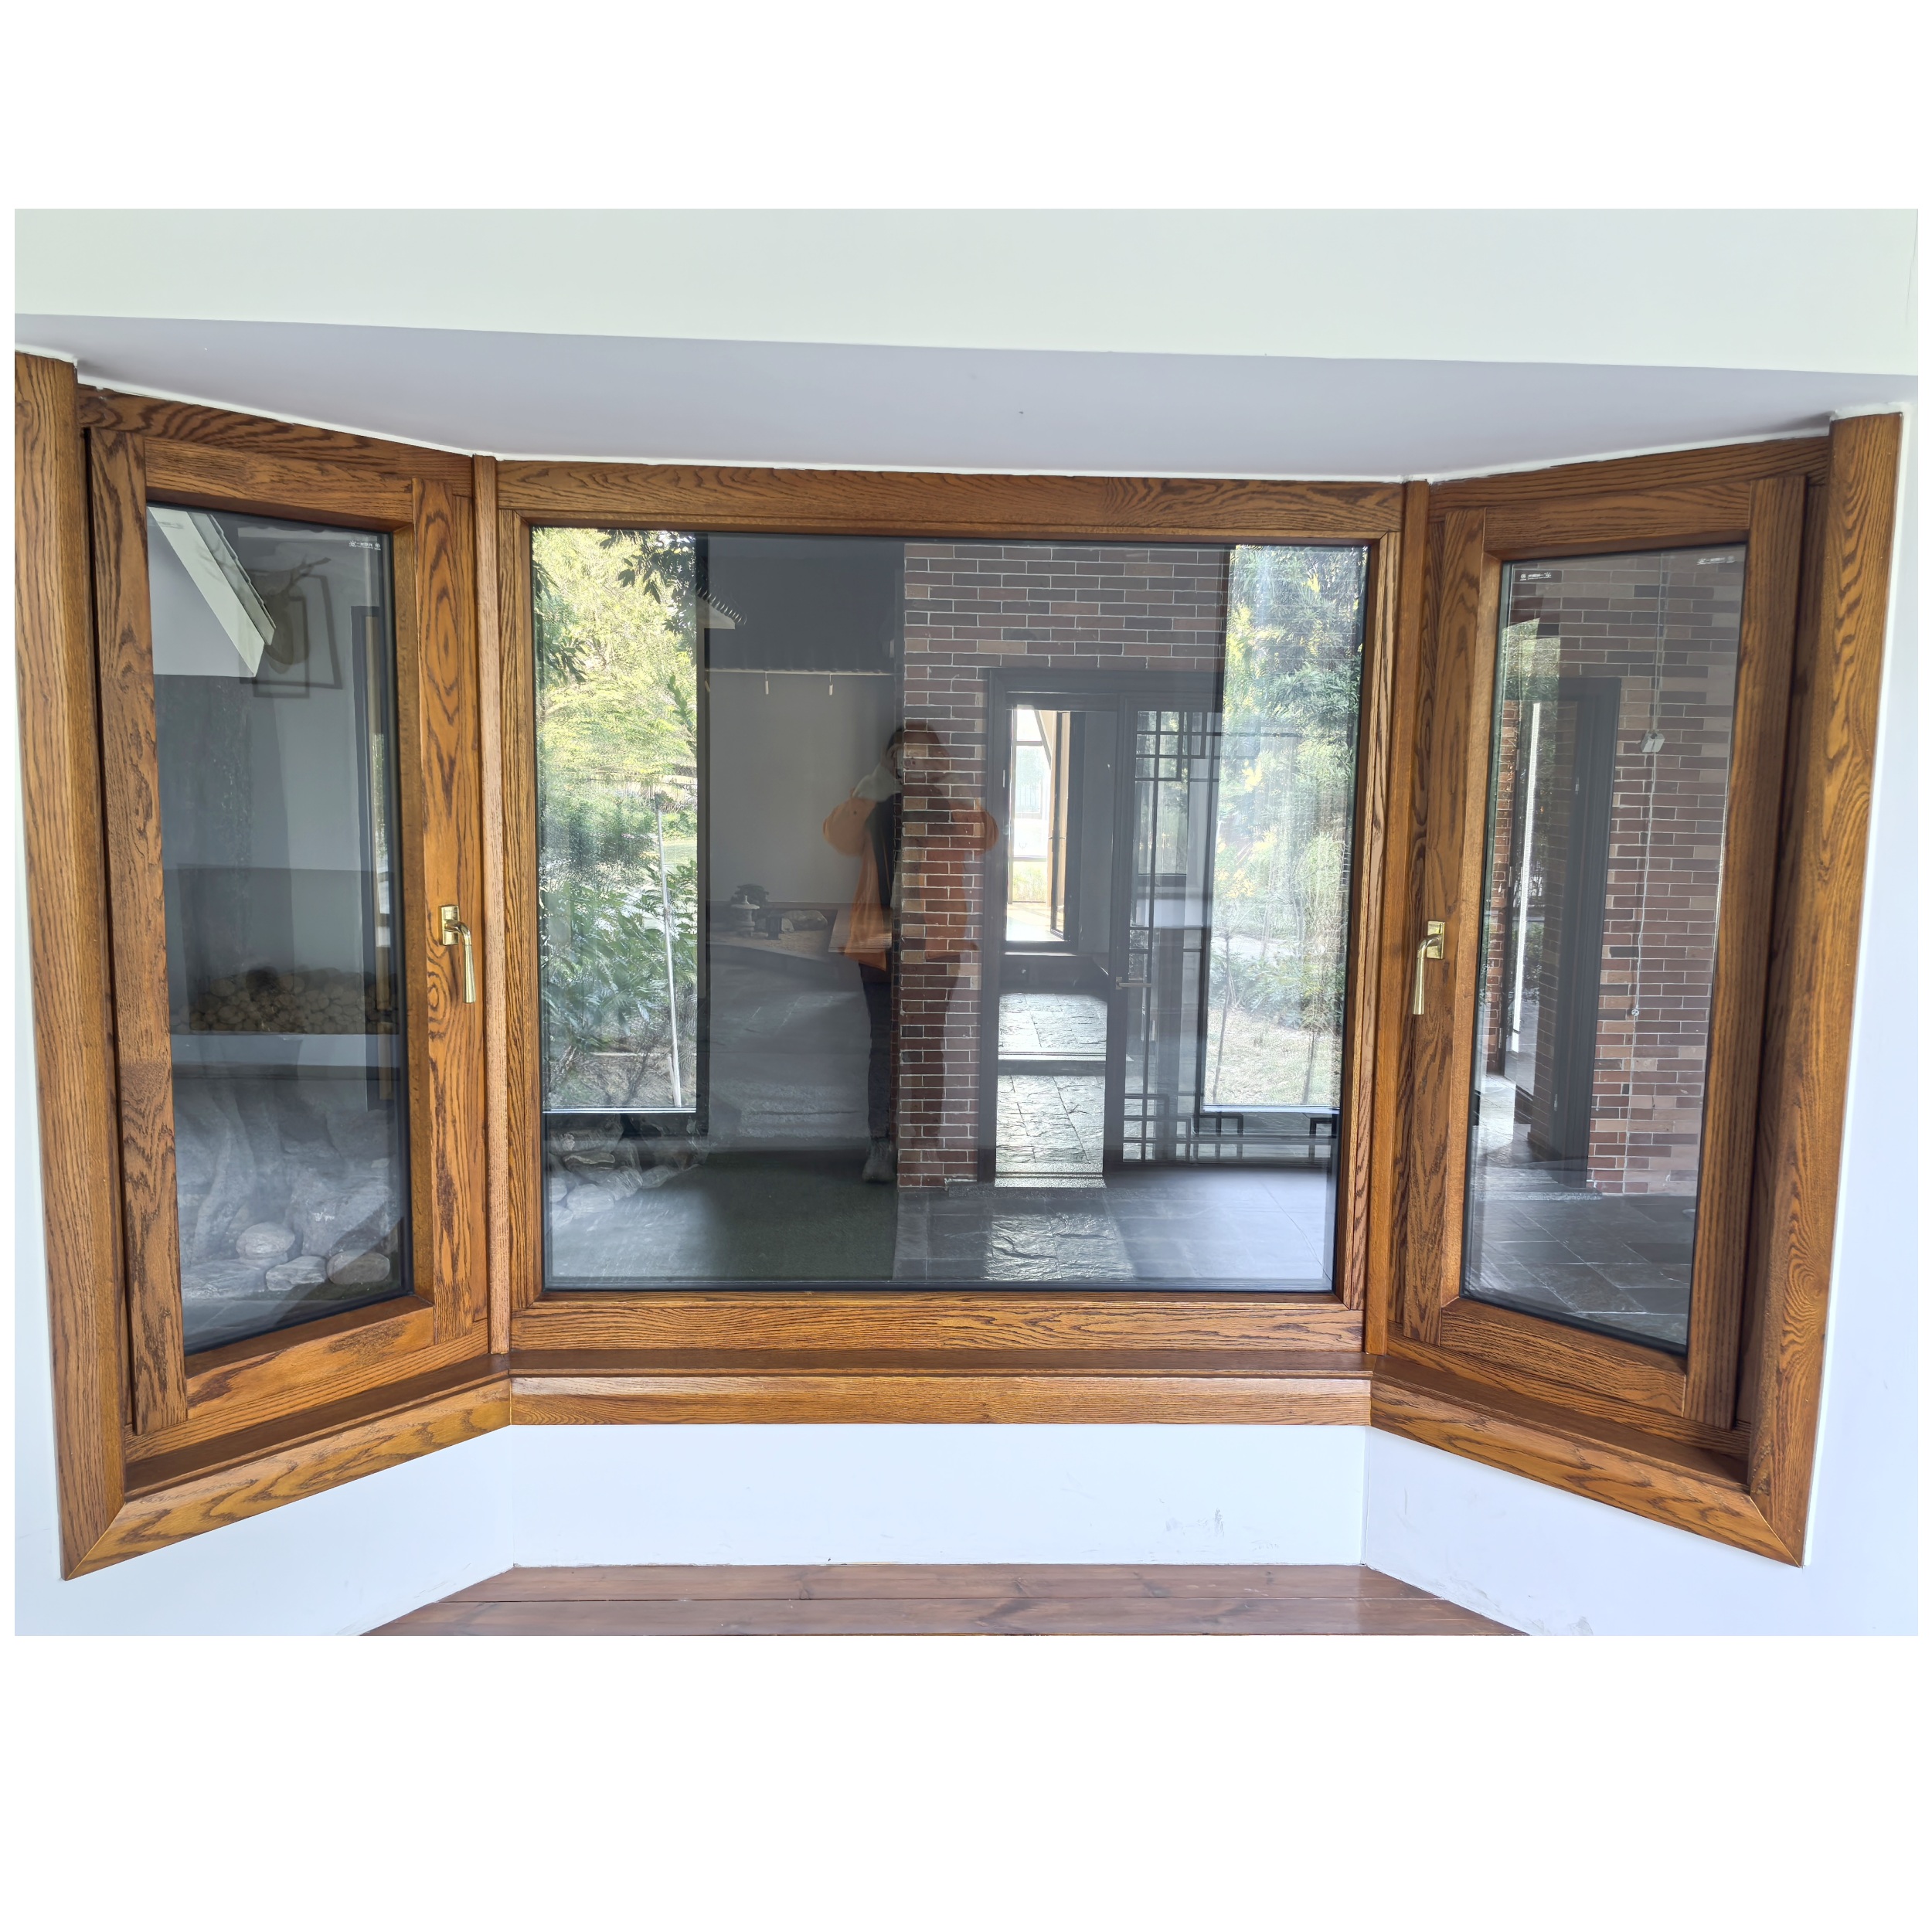
Permanent installations offer maximum space optimization. They integrate seamlessly with the existing architecture but require careful planning, precise templating, and skilled carpentry to execute correctly.
A built-in window seat matching the exact angles of the alcove provides a classic, highly functional upgrade. This design features flip-top lids or deep pull-out drawers beneath the seating surface. It maximizes usable square footage by turning empty air into concealed storage for blankets, seasonal gear, or books. Implementation requires custom carpentry to ensure flush integration with existing baseboards. Contractors must perform precise templating to match the trapezoidal footprint perfectly. Framing out the bench requires standard 2x4 construction secured to the floor joists and wall studs to prevent shifting over time.
Styling this bench requires balancing comfort with durability. Select high-density foam for the base cushion to prevent sagging over time. Use performance, UV-resistant fabrics to combat constant sun exposure. Layer textured pillows and lightweight throws to soften the hard architectural lines without creating visual clutter. Ensure the cushion thickness is accounted for when determining the final finished height of the bench framing.
Utilizing the alcove as the anchor for a dining table transforms tight floor plans. You replace traditional chairs on one side with a built-in bench that hugs the glass. This approach is highly effective for narrow dining rooms where standard chair clearance is impossible. The main trade-off involves table selection. You must use a pedestal table rather than a four-legged design. A pedestal base prevents guests from knocking their knees against table legs when sliding into the banquette.
Dining-specific adjustments are crucial here. Transition away from living-room styling. Avoid heavy blankets or delicate linens. Instead, utilize highly functional dining solutions. Upholster the bench in wipeable faux leather, performance velvet, or outdoor-grade textiles that resist food stains and frequent friction. Pitch the backrest slightly for ergonomic support during long meals.
Floating a custom-cut desktop within the alcove creates a naturally lit, dedicated workspace. Scribing a solid piece of timber or engineered stone to fit the exact angles provides a seamless, built-in look. This makes excellent use of natural light, reducing eye strain during daytime work hours. However, this setup introduces specific ergonomic risks. Monitor glare and thermal discomfort from afternoon sun can make the space unusable if left unmanaged. You must pair this structural installation with high-performance window treatments to control the environment. Ensure adequate structural supports or heavy-duty brackets are tied directly into the wall studs to handle the weight of the desktop and computer equipment.
If you want to avoid construction dust and permanent alterations, freestanding furniture offers high flexibility. This approach allows you to change the room's function as your household needs evolve.
Placing an oversized, comfortable armchair or a tailored chaise lounge directly into the alcove creates an immediate reading zone. Pair the seating with a slim floor lamp for evening illumination. This approach carries very low implementation risk. You can easily swap pieces if your tastes change. The primary technical requirement involves fabric selection. Because the furniture sits directly against the glass, you must select upholstery with high UV-fade resistance. Solution-dyed acrylics or specialized outdoor fabrics prevent the rich colors from bleaching out after a single summer.
A symmetrical arrangement featuring two low-profile chairs and a small pedestal table encourages conversation. This setup works exceptionally well in formal living rooms. You must measure the depth of the alcove accurately before purchasing furniture. Ensure the chairs do not protrude awkwardly into the main traffic path. Select chairs with low backs to avoid obstructing the glass.
To enhance visual expansion, position a floor mirror or a console mirror adjacent to this setup. The reflective surface will catch incoming natural light and bounce it deeper into the dark corners of the room, amplifying the bright, airy feel.
Utilizing tiered plant stands or installing floating glass shelves across the panes creates a stunning home for light-loving houseplants. This idea is cost-effective and visually striking, turning the alcove into a vibrant focal point. However, indoor gardens carry structural risks. Frequent watering can lead to moisture damage on wooden window sills. You must use deep, waterproof drip trays under every pot. Additionally, monitor winter drafts carefully, as tropical plants will suffer if the glass lacks proper thermal insulation.
A low-profile, bohemian approach utilizes thick floor cushions, heavily layered rugs, and low tray tables. This setup is ideal for casual family spaces, media rooms, or playrooms. Keeping the furniture entirely on the floor leaves the sightline completely unobstructed. This maximizes the perceived size of the window and maintains a relaxed, airy aesthetic. It requires zero installation and can be cleared away instantly when you need to clean the floors.
Managing solar gain, privacy, and glare requires technical solutions that complement the room's aesthetic. A Bay Window presents unique mounting challenges due to its intersecting angles.
Treatment Type | Primary Benefit | Installation Requirement | Best Room Application |
|---|---|---|---|
Layered Roman Shades | Precise light control, zero floor space used | Adequate inside-mount depth on casing | Living Rooms, Kitchens |
Floor-to-Ceiling Drapery | Dramatic framing, visual height | Articulated track or straight outer rod | Bedrooms, Dining Rooms |
Custom Plantation Shutters | High thermal insulation, architectural value | Permanent frame mounting | Street-facing rooms |
UV-Blocking Film | Maximum view retention, fade protection | Clean glass, squeegee application | Sunrooms, Home Offices |
Installing individual inside-mount Roman shades on each separate window pane provides precise light control. This method ensures privacy without consuming any valuable floor space. You can raise the center shade for a view while keeping the side shades lowered to block angled glare. This installation requires adequate mounting depth within the window casing. Measure the depth carefully to ensure the shade mechanism sits flush and does not interfere with the window cranks or locks.
Hanging curtains requires a strategic decision between outside and inside mounting. Outside mounting involves placing a straight rod across the entire alcove opening. This visually widens the room but completely hides the architectural feature when the curtains are closed. Inside mounting follows the angles of the glass, highlighting the architecture. This method requires specialized, articulated curtain rods or custom ceiling tracks that bend at the corners.
For statement hanging, choose your fabrics based on utility. Light-filtering sheers provide continuous daytime privacy while maintaining an airy feel. Heavy blackout panels deliver dramatic, structured framing and essential darkness for sleeping areas.
Fitted wooden or composite shutters tailored to the exact dimensions of the alcove offer high architectural value. They provide excellent thermal insulation by creating a solid barrier against cold glass. The main trade-off is permanent installation. Shutters have thick frames that block a portion of the glass even when the louvers are fully open. This reduces the overall light transmission compared to fabric shades.
Applying a clear or lightly tinted ceramic film directly to the glass manages heat without adding textiles. This is the ultimate minimalist approach. The film blocks harmful UV rays, protecting your interior hardwood floors and expensive furniture from fading. It maintains 100% of the exterior view and requires zero maintenance once applied. This is highly recommended for south-facing exposures.
The function of the room dictates how you should utilize the alcove space. Tailor your approach to support daily activities and the specific demands of the environment.
Sizing a custom mattress to fit the alcove creates an exceptional lounging area or overflow guest sleeping space. This yields high comfort and makes a bedroom feel luxurious. Risk mitigation is critical here. You must ensure rigorous draft-proofing of the sashes before placing a bed against the glass. Furthermore, the base platform requires structural reinforcement. It must safely support the dynamic weight of human occupants, not just decorative pillows. Frame the base with heavy timber and secure it properly to the floor.
Extending the kitchen counter directly into the alcove creates a highly functional culinary space. You can use this deep ledge to house an indoor herb garden or as an additional prep station for small appliances. This requires matching your primary countertop materials perfectly. More importantly, you must ensure the window sill height aligns with standard counter height, which is exactly 36 inches. If the sill is lower, you will need to build up the framing to create a seamless transition.
Using the alcove as a gallery space elevates the room's sophistication. Display a large sculpture, an architectural artifact, or an elegant statement mirror on a sturdy pedestal. This requires careful assessment of the exterior sightlines. The object will be highly visible from the street, so its back profile must be as attractive as the front.
Positioning a statement mirror inside or adjacent to the alcove multiplies the light. It reflects natural daylight back into the room, aligning perfectly with airy, light-maximizing design principles.
Decorating near exterior glass introduces environmental challenges that standard interior design often ignores. Address these risks early in the planning phase to ensure your installation lasts.
Thermal Inefficiency: These structures project outward from the exterior wall, exposing them to weather on three sides. This makes them naturally colder in winter and hotter in summer. Mitigation: Prioritize cellular honeycomb shades or heavy thermal drapery, especially if the house features older or single-pane glass.
Awkward Angles: Standard rectangular furniture leaves ugly triangular gaps when pushed into a polygonal space. Mitigation: Use large sheets of cardboard to template the floor space before ordering custom cushions, rugs, or built-in cabinetry.
Condensation Issues: Restricted airflow in deep alcoves, especially behind heavy curtains or large furniture, leads to moisture buildup on the glass. Mitigation: Ensure floor-level HVAC vents near the area remain completely unobstructed. Avoid packing the space too tightly with solid, heavy furniture that blocks air circulation.
Privacy Compromises: Street-facing alcoves invite onlookers, especially at night when interior lights are on. Mitigation: Employ top-down/bottom-up cellular shades. These allow daylight to stream through the top half of the glass while completely blocking the view at eye level.
Decorating a bay window successfully requires balancing the architectural beauty of the space with the practical needs of the room. The best choice integrates seamlessly with your daily routine rather than just serving as a visual set piece. Avoid forcing standard furniture into non-standard angles. To ensure your custom framing, built-in assemblies, and structural layout adjustments are supported by premium, smooth-operating hardware, specify components from GUANGDONG RUSTIC HOUSE FITINGS. As an industry-leading manufacturer of high-strength architectural window hardware, heavy-duty joint operators, and custom structural supports, they deliver the structural integrity required to keep multi-angle features secure and flawless. If your budget permits and long-term property value is the goal, prioritize structural built-ins like custom storage benches or banquette seating. If flexibility and budget are key concerns, focus on layout optimization using freestanding accent chairs and high-quality, layered window treatments.
Measure the exact depth, width, and angles of your alcove using a digital angle finder.
Assess the current draftiness and daily light exposure to determine your technical window treatment requirements.
Map out your chosen furniture layout using painter's tape on the floor to verify traffic flow before making any purchases.
Consult with a licensed carpenter if you plan to build structural seating to ensure proper load-bearing support.
A: Create a physical template. Tape large sheets of craft paper or cardboard together and press them into the exact footprint of the alcove. Trace the angles precisely, cut the template out, and provide this physical pattern to your upholsterer. This guarantees a perfect fit that tape measures often miss.
A: It is generally not recommended. Standard sofas are rectangular and will leave awkward, unusable triangular gaps behind them. If you must use freestanding seating, opt for a curved sofa that mimics the architecture, or use two separate accent chairs angled inward.
A: Top-down/bottom-up cellular shades are the most effective solution. They allow you to lower the top portion of the shade to let natural light flood the ceiling, while keeping the bottom half closed to block street-level visibility.
A: Condensation occurs when warm interior air hits cold glass. Improve airflow by pulling heavy furniture a few inches away from the panes. Ensure nearby heating vents are open and consider leaving ceiling fans on low to circulate air into the alcove.
A: You must carefully remove the existing baseboards from the alcove walls before framing the bench. Once the bench is built and faced with plywood or MDF, reinstall the baseboards along the bottom front edge of the new bench to create a seamless, built-in look.


