English 


Views: 0 Author: Site Editor Publish Time: 2026-10-08 Origin: Site


Maintaining upper-floor exterior glass presents a primary operational challenge for homeowners and facility managers. This difficulty often leads to neglected maintenance or highly unsafe cleaning practices. Attempting to clean the exterior of your windows without understanding the specific sash mechanism frequently results in broken balance shoes, damaged weatherstripping, or severe safety hazards. You must know whether you are dealing with a tilt or no-tilt system before applying any pressure to the frame.
This guide breaks down the mechanical differences between window types. It provides a step-by-step framework for safely operating, supporting, and cleaning both modern tilt-in and legacy no-tilt configurations. You will learn how to identify your hardware, execute the correct cleaning sequence, and troubleshoot common mechanical failures without risking structural damage.
Mechanism Verification: Always identify whether the window features a tilt-in mechanism or a fixed sash before applying inward pressure to avoid snapping the pivot pins.
Sequential Operation: For tilt-in models, the bottom sash must always be tilted and supported first, followed by the top sash, to prevent hardware collision and track damage.
Top-Down Cleaning Logic: Once both sashes are tilted, always clean the top sash first to prevent dirty water and cleaning solutions from dripping onto the freshly cleaned bottom sash.
Load Support: Never let a tilted sash hang freely by its pivot shoes; always use a stool, chair, or ladder to support the weight of the glass during cleaning.
Legacy Window Mitigation: Older, no-tilt double hung windows require either complete sash removal (high implementation risk) or specialized exterior extension tools to clean safely from the interior.
Table of Contents
The first step in safe maintenance is accurately identifying the hardware capabilities of your window. Failing to do so often leads to structural damage during the cleaning process. You need to know exactly how the sash interacts with the jamb liner. This knowledge prevents you from forcing a static component and breaking the internal balance system. Field technicians frequently encounter windows where homeowners have snapped the internal pivot bars simply because they assumed the window was designed to tilt inward. Verifying the mechanical design before applying force is the only way to ensure a successful, damage-free cleaning operation.

Modern Double Hung Windows typically feature a tilt-in design for easier maintenance. You can identify these units by looking for visible tilt latches located on the top rail of the bottom sash. These latches slide inward to release the sash from the side tracks. The jamb liners usually contain a hidden block and tackle, spiral balance, or constant force coil spring system connected to a pivot shoe.
The pivot shoe system operates directly within the frame track. When you release the top latches and pull the sash inward, metal pivot bars at the bottom of the sash rotate inside the pivot shoes. This rotation locks the shoes in place within the track. The locked shoes hold the tension of the balance springs, allowing the sash to rotate inward safely without shooting upward. If you look closely at the side jambs while the window is slightly open, you can often see the plastic or metal housing of the pivot shoe riding in the channel.
Older double hung windows rely on entirely different mechanical principles. Original wood windows typically use friction balances or traditional weight-and-pulley systems. You will notice solid stop molding running vertically along the interior frame. These units lack top-rail latches. They are strictly confined to vertical movement. The sashes are held in place by the physical wood stops nailed or screwed into the window frame.
Multi-story apartments frequently feature a "hidden hardware" scenario. If you inspect a fourth-floor unit and see no visible screws, clips, or latches on the horizontal railings, you are dealing with a strict no-tilt status. These commercial-grade windows utilize heavy-duty balances designed solely for vertical operation. Attempting to pull them inward will cause immediate damage. Building codes in many high-rise structures actually prohibit tilt-in functions to prevent sashes from accidentally detaching and falling to the street below.
Forcing a no-tilt window inward carries significant mechanical and financial risks. Applying lateral pressure to a fixed sash will snap the internal pivot pins or break the balance cords. Once a balance cord snaps, the window will no longer stay open on its own. It becomes a heavy guillotine hazard. Furthermore, unauthorized modifications or forcing the hardware will immediately void manufacturer warranties. Replacing a snapped constant force balance requires specialized tools and often necessitates hiring a professional technician.
Feature | Modern Tilt-In Windows | Legacy No-Tilt Windows |
|---|---|---|
Visible Latches | Yes, located on the top rail of the sashes. | No visible latches or release clips. |
Balance System | Block and tackle, spiral, or constant force with locking pivot shoes. | Weight-and-pulley, friction, or static block balances. |
Frame Stop Molding | Integrated flexible vinyl or hidden tracks. | Solid wood or metal stops requiring physical removal. |
Cleaning Approach | Interior tilt and clean. | Exterior extension tools or full sash removal. |
Hardware Material | Zinc pivot bars, plastic latch housings, stainless steel coils. | Cotton sash cords, cast iron weights, brass pulleys. |
Operating modern tilt-in mechanisms safely requires a standardized, sequential approach. You must follow a strict order of operations to prevent the sashes from colliding or dropping out of the frame. This section outlines the exact physical steps needed to disengage, clean, and re-engage your windows. Skipping steps or rushing the process is the leading cause of hardware failure during routine maintenance.
Begin by clearing the window sill and the immediate floor area. Remove all decorative items, plants, and blinds that might obstruct the inward swing of the sash. You need an unobstructed workspace to handle heavy glass safely. A standard double-pane glass sash can weigh between 15 and 40 pounds depending on its size. Handling this weight requires proper footing and clear space.
Next, stage a stable support object just below the window sill. Use a sturdy stool, a flat-backed chair, or a small step ladder. Cover the support surface with a thick towel. This object will bear the weight of the sashes once tilted. Never allow a tilted sash to hang freely at a 90-degree angle. The unsupported weight can warp the vinyl frame, snap the zinc pivot bars, or crack the glass near the corners. The towel prevents the hard edges of the stool from scratching the interior glass surface.
Unlock the window at the center sash lock. Ensure the locking cam is completely disengaged from the keeper.
Raise the bottom sash exactly 6 to 8 inches. This specific height is required. It allows the sash to clear the sloped window sill and ensures the pivot bars properly engage the locking mechanism inside the balance shoe. If you do not raise it high enough, the shoe will not lock, and the balance spring will pull the shoe upward violently when you tilt the sash.
Retract both tilt latches simultaneously. Grip the latches on the top rail and slide them toward the center of the glass.
Gently pull the sash inward toward your body. Lower it carefully until it rests flat on your prepared support object. Ensure the sash is resting evenly and is not twisted in the frame.
Pull the top sash down to a reachable height. Leave a gap of at least 2 inches between the bottom of the top sash and the window sill. Do not push it all the way down, as you need room for your hands to operate the latches.
Locate the tilt latches on the top rail of the upper sash. Retract these latches simultaneously using your thumbs.
Pull the top sash inward and lower it gently. Let it rest parallel to, and directly supported by, the bottom sash. Both sashes should now be horizontal inside your room, stacked neatly on your support stool.
Always clean the top sash first. This top-down logic prevents dirty water and cleaning solutions from dripping onto the freshly cleaned bottom sash. Spray your cleaning agent onto the exterior glass of the top sash. Wipe it clean using a microfiber cloth or a professional squeegee. Dry the edges thoroughly to prevent water spots. Once the top sash is pristine, tilt it back up and lock it into the track before you begin cleaning the bottom sash. This isolates the cleaning process and guarantees you do not have to clean the same pane of glass twice.
Sometimes staging a support stool is not viable due to furniture placement or room layout. In these cases, you can safely lift a tilted vinyl sash completely out of its pivot shoes for deep cleaning. Tilt the sash inward to a 90-degree angle. Grasp both sides of the frame firmly near the bottom. Lift one side upward to free the pivot bar from the shoe, then slide the other side out. Place the sash flat on a table or the floor to clean it. This method also allows you to clean the hidden weatherstripping along the bottom edge and inspect the pivot bars for signs of wear or bending.
Reassembling the window requires the exact reverse order of operations. You must secure the top sash first, followed by the bottom sash. Lift the top sash and push it firmly into the exterior track. You must listen for the distinct "click" of the spring-loaded latches re-engaging the jamb liner. If you do not hear this click, the window is not secure and may fall outward or drop suddenly. Repeat the process for the bottom sash, ensuring both latches snap securely into the interior track. Finally, push the bottom sash down and the top sash up, then lock the center cam to compress the weatherstripping and seal the unit.
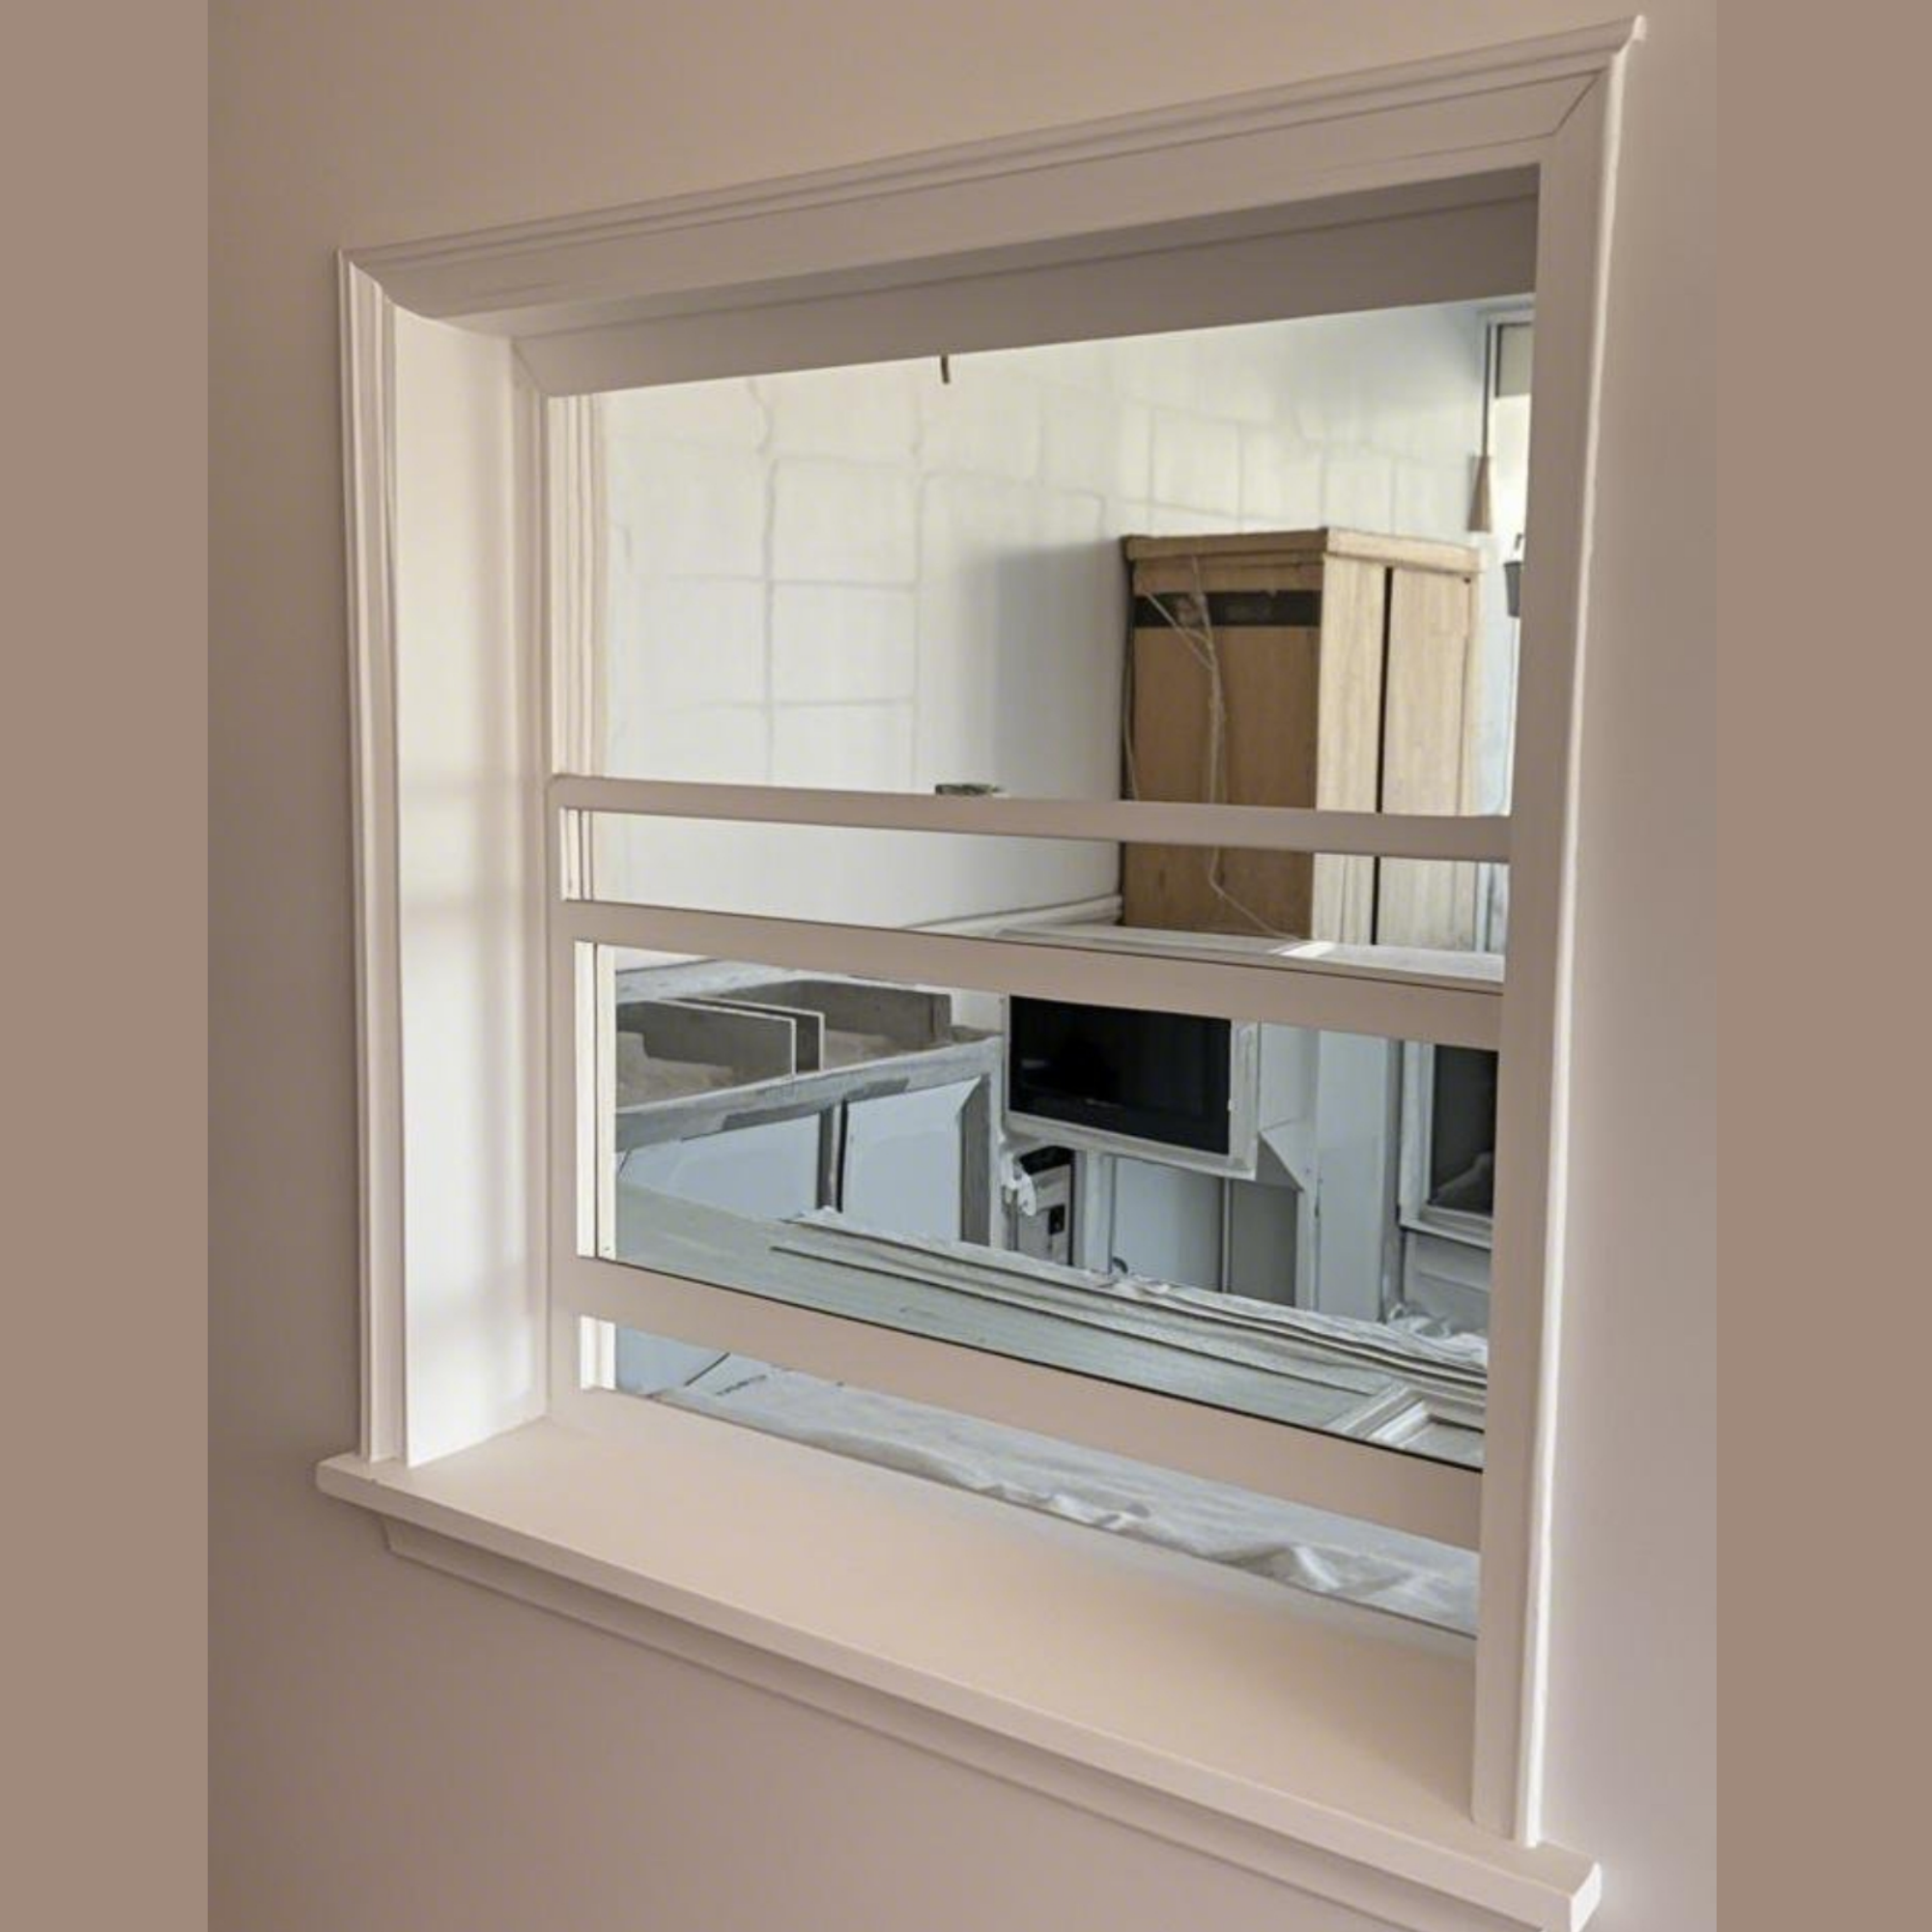
Addressing the complex reality of older or fixed-sash windows requires different tactics. This is especially true for upper floors, such as third or fourth-story apartments. You cannot simply pull these windows inward. You must choose between removing the sash entirely or utilizing specialized exterior tools. Each approach carries specific operational requirements and safety considerations.
Before attempting interior sash removal, evaluate the risks. Removing a legacy wood sash involves dealing with brittle paint, fragile stop molding, and heavy cast-iron weights. If the window is painted shut or the wood is rotting, removal is a high-risk operation that can lead to extensive frame damage. In these scenarios, rely on exterior cleaning tools. Reserve sash removal for windows that operate smoothly, have easily accessible stop molding, and show no signs of severe wood rot or structural degradation.
Removing a legacy no-tilt sash is a technical process requiring patience and the right hand tools. First, use a sharp utility knife to score the paint line between the interior stop molding and the window frame. This breaks the paint seal and prevents the paint from peeling off the wall when you pry the wood. Carefully pry off the interior stop molding using a stiff putty knife and a small flat pry bar. Work slowly from the bottom up to avoid snapping the wood.
Once the molding is off, pull the bottom sash slightly out of the frame. You will expose the sash cords or chains attached to the sides. Secure the cords with a clamp or tie a thick knot before detaching them from the sash. If you fail to secure the cord, the heavy counterweight will drop violently into the wall cavity. This creates a massive retrieval problem requiring you to open the weight pocket panel. Carefully lift the detached sash out of the frame and clean it on a stable surface. Repeat the process for the parting bead and the top sash if necessary.
When sash removal is too risky or restricted by building codes, you must use alternative tools. U-shaped telescopic squeegees allow you to reach outside and clean the exterior glass from the inside. You extend the arm out the window, wrap it around to the exterior pane, and pull the squeegee downward. These tools require strong forearms and good spatial awareness to maintain the correct angle against the glass.
Dual-sided magnetic window cleaners offer another solution. You place one magnetic half on the exterior glass and control it using the interior half. These tools require a significant learning curve. You must move slowly to prevent the exterior magnet from detaching and falling. Always secure the exterior magnet's safety lanyard to your wrist or the window frame before beginning the cleaning process. Apply plenty of soapy water to the glass to reduce friction and allow the magnets to glide smoothly.
The choice of cleaning agents directly impacts the longevity of your window hardware. Using the wrong chemicals will degrade the structural integrity of the frame and ruin the glass coatings. Proper chemical selection preserves both aesthetic clarity and mechanical operability. Field experience shows that chemical damage is a leading cause of premature window failure, often resulting in fogged glass or brittle vinyl frames.
We strongly advocate for non-ammonia-based glass cleaners or a simple mixture of distilled water and white vinegar. Harsh chemicals, especially ammonia, degrade vinyl frames over time. They cause the plasticizers in the vinyl to break down, leading to a brittle and yellowed frame. Furthermore, ammonia will dry out rubber weatherstripping, destroying the window's airtight seal. If your glass features Low-E (low-emissivity) coatings, aggressive solvents can permanently streak or strip this energy-efficient layer. Stick to mild dish soap and water for heavy grime, followed by a vinegar solution for a streak-free finish.
While cleaning the glass, take time to maintain the tracks. Wipe down the jamb liners and tracks with a dry microfiber cloth to remove dust, dirt, and dead insects. Never use heavy, dirt-attracting lubricants like WD-40 in the window tracks. Oil-based lubricants attract grime, creating a sticky sludge that eventually jams the balance system and ruins the pivot shoes. If lubrication is absolutely necessary to resolve a sticking sash, use a dry silicone spray sparingly. Spray it onto a rag first, then wipe the track, rather than spraying directly into the jamb liner.
After cleaning, open both the top and bottom sashes slightly. This creates cross-ventilation. The airflow speeds up drying times for any residual moisture in the tracks and ensures a fresh air exchange in the room. Leave them open for at least fifteen minutes before locking the window securely. This practice prevents mold growth in the hidden pockets of the window frame.
Mechanical failures frequently occur mid-cleaning. Understanding how to diagnose and resolve these issues prevents panic and costly repair bills. Most problems stem from improper operational sequencing, debris in the tracks, or failing to engage the locking mechanisms correctly.
If the sash refuses to tilt inward, do not force it. Diagnose the root cause first. The most common issue is stuck latches. Dust and grit can jam the spring mechanism inside the latch housing. Tap the latch gently with the handle of a screwdriver or spray a tiny amount of dry silicone to free it. Another common cause is failing to raise the sash high enough. The bottom sash must be raised at least 6 inches to clear the sill and properly engage the pivot shoe. If it is too low, the shoe remains locked in the vertical position, preventing the pivot bar from rotating.
A sash that falls like a guillotine after cleaning indicates a disengaged or broken balance shoe. When you tilted the window, the pivot bar likely slipped out of the shoe, causing the shoe to snap upward under spring tension. To fix this, you must reset the dropped pivot shoe.
Look inside the track to locate the shoe, which is a small plastic or metal block. Insert a large flathead screwdriver into the U-shaped slot on the shoe. Turn the slot 90 degrees to unlock it. Pull the shoe down the track until it aligns with the pivot bar on your sash. Turn the screwdriver back 90 degrees to lock the shoe in place. Reinsert the sash pivot bar into the shoe and test the vertical movement. Keep a firm grip on the screwdriver while pulling the shoe down, as the spring tension can be quite strong.
Evaluate the maintenance friction of your current windows. If you spend hours fighting with legacy no-tilt wood windows, risking injury or wall damage every season, the operational cost is too high. Frequent broken cords, painted-shut frames, and the inability to safely clean upper-floor glass justify the capital expenditure of upgrading. Modern tilt-in replacement windows eliminate these hazards, providing immediate operational relief, improved thermal performance, and a drastically reduced maintenance timeline.
Routine, safe cleaning preserves both the aesthetic clarity and the mechanical operability of your windows. You must follow the correct operational sequence to avoid damaging the internal balance systems. The primary factor in safe maintenance is identifying the hardware limitations of your specific units. Never assume a window tilts without verifying the presence of tilt latches and pivot shoes.
Inspect your window hardware immediately to determine if you have a tilt-in or fixed-sash configuration before attempting any maintenance.
Gather the necessary support tools, such as a sturdy stool and thick towels, to bear the weight of the glass before unlocking any sashes.
Test the operation of your tilt latches and vertical balances to ensure they function smoothly before attempting a full cleaning sequence.
Purchase a U-shaped squeegee or magnetic cleaner if you identify your upper-floor windows as strict no-tilt models to avoid dangerous exterior access.
A: No. Older traditional wood windows and commercial high-rise windows generally do not have tilt mechanisms. They use weight-and-pulley or static friction balances. Forcing them inward will break the frame, snap the balance cords, or shatter the glass.
A: The pivot bar has likely disconnected from the balance shoe inside the track. Locate the shoe in the side jamb. Use a flathead screwdriver to unlock the shoe, pull it down to align with the sash, lock it, and reinsert the pivot bar.
A: Place a sturdy stool, flat-backed chair, or step ladder directly below the window sill. Cover it with a thick towel. Rest the tilted sash flat against this support to bear the weight and prevent stress on the plastic pivot pins.
A: You must use specialized exterior cleaning tools from the inside. A U-shaped telescopic squeegee allows you to reach around the glass. Alternatively, a dual-sided magnetic window cleaner can scrub the outside while you control the interior half.
A: Yes. Tilt the sash inward to a 90-degree angle so it is completely horizontal. Grasp both sides of the frame firmly and lift one side upward to disengage the pivot bar from the shoe, then pull the entire sash free.
A: Most modern residential vinyl replacement windows feature tilt-in sashes for easy cleaning. However, some heavy-duty commercial or impact-rated modern windows may restrict tilting to maintain structural integrity under high wind loads. Always check for visible tilt latches.
A: The latches are likely jammed with dirt, dead insects, or dried cleaning residue. The internal springs can also rust over time. Tap the latch housing gently and apply a small amount of dry silicone spray to loosen the mechanism.